
Sample VBS3Strike Mission
The following steps will create a basic mission in VBS3Strike using the scenario "sample_VBS3strike_mission".If you are unfamiliar with the VBS3 file directory and starting a network mission, do the following:
- Navigate to C:\Program Files (x86)\SimCentric Technologies\VBS3Strike\samples.
- Copy the mission folder "sample_VBS3strike_mission.map_easterneuropeangeotypical25km".
- Paste the folder to %USERPROFILE%\Documents\VBS3\MPMissions
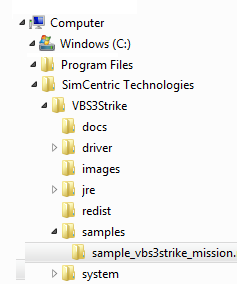
∆ Image 14a: Location of sample mission |
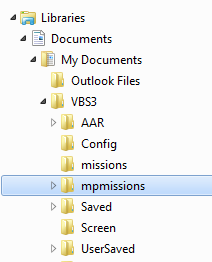
∆ Image 14b: Location of VBS3 missions |
- At the VBS3 home screen, click "Network Mode" and host a new session.
- Select terrain Geotypical Eastern Europe [25km] and select mission "Sample VBS3Strike Scenario".
- Start VBS3Strike in Stand Alone (Maximized) mode.
- In VBS3, Mission Lobby, assign yourself to any of the BLUFOR roles, and then click OK.
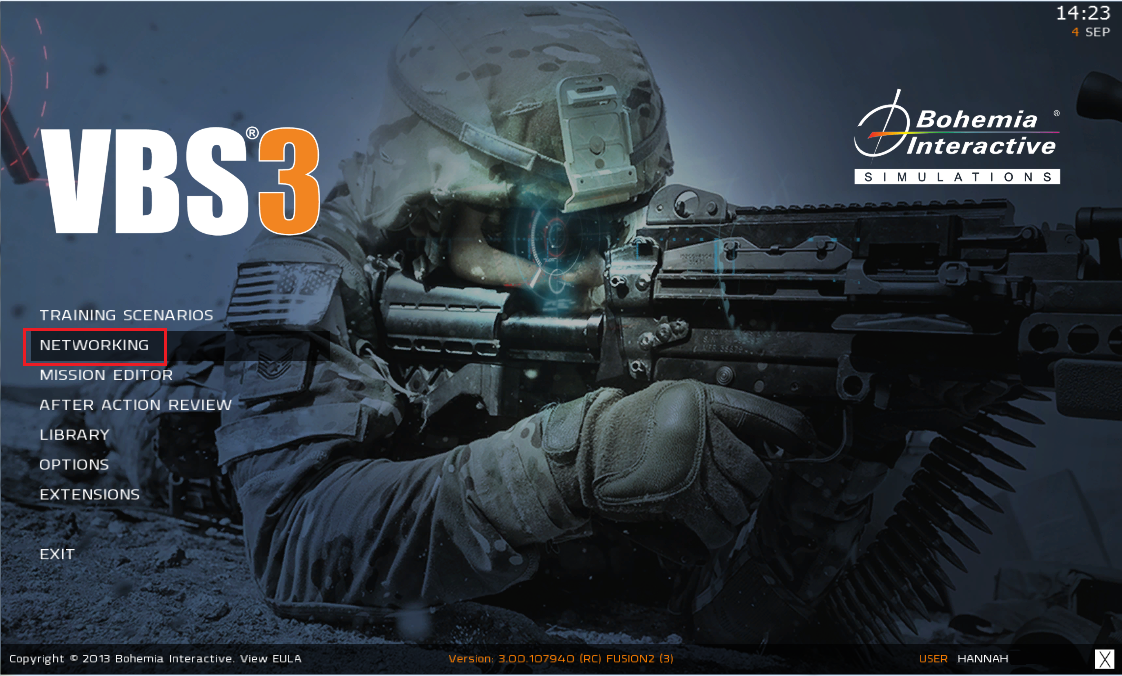
∆ Image 14c: VBS3 Home Screen |
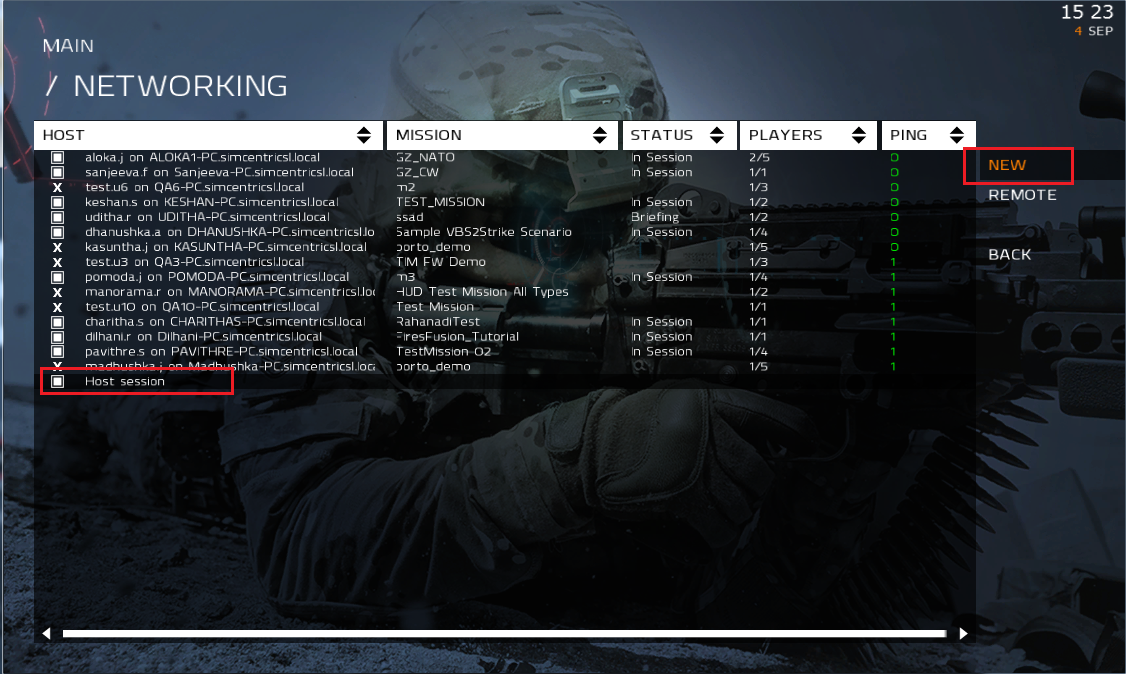
∆ Image 14d: VBS3 Network Screen |

∆ Image 14e: Mission Lobby |
Open Strike Instructor Control Panel (VBS3Strike -> Mission -> VBS3Strike Instructor)
- Aerial Asset, select callsign “10” for the aircraft and Observer select callsign “R1”.
- Select Msn Type”9 Line”.
- Select Fuel Limit “Unlimited”

∆ Image 14f: Select mission from mission table |
- Select number of aircraft for the attack, in this example user can select a one or more aircrafts.

∆ Image 14g: Asset Details |
- 5. Enter an Initial Point/Battle Position, start with a reference point. This can be entered either manually or can be selected “From Map” option, which enables you to click on desired grid position from the VBS3 map.
- a. In the sample mission, targets are marked with a blue marker followed by a grid.

∆ Image 14h: Target marker in Sample Mission |

∆ Image 14i: Grid value for ICP, using reference point |

∆ Image 14j: IP Gird value |
- Enter target location
- Note: Target location can be entered manually or "From Map"
- Same as Ref. Point is available when start location refinement is POLAR or KEYHOLE
∆ Image 14k: Grid value for Target Location Details |
- Egress defines where the aircraft will go after the attack.
- Grid can be manually entered, selected "From Map"
- “Same as Ref. Point” from Reference Point can also be selected
- Egress direction is used to specify the direction to egress after 2km from the firing point. The coordinates to the egress point is given here. The directions are used to inform the aircraft of any enemy points available on the aircraft route
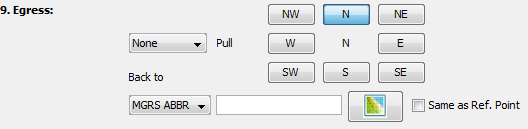
∆ Image 14l: Egress panel |
- In Controls, ensure “Cleared Hot” is selected. Aircraft will automatically engage the target.

∆ Image 14m: Cleared Hot within Controls tab |
- 9. In Remarks, Select type of weapon and quantity.
- Engage: Immediate, TOT or TTT can be selected
- Attack Profile level, Toss and Diving is available.
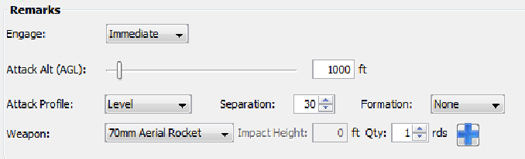
∆ Image 14n: Remarks panel |
- Click “Execute” when all the steps are complete. After a few minutes, aircraft will fly to mission area and attack the target.

∆ Image 14o: Commands |